Level: Beginner
Softwares Used:
- Gravit 3.1.3.0: Gravit is a Vector illustration Software. It is a free alternative to Adobe Illustrator. Download Link for Gravit
Using Gradients to make a Poster in Gravit Designer.
Create a 1270px by 720px canvas
Open Gravit and create a new Design. Let’s set our canvas size to 1270px x 720px.

Make a Sphere.
Using the shape tool, create an Ellipse on your canvas.
Simply click and drag to create the Ellipse.
Note: Press and hold SHIFT on your keyboard while doing that to create a perfect circle.

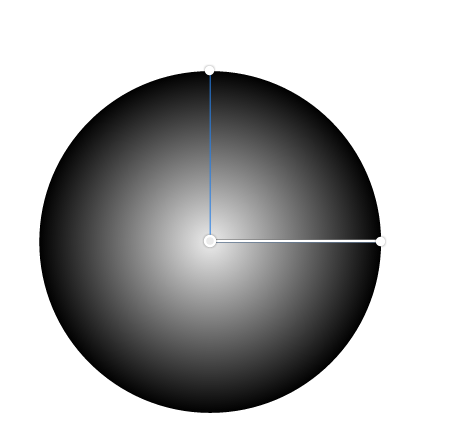
While the Ellipse is still selected go to the Fills and fill it with a Radial Gradient

Select Radial Gradient

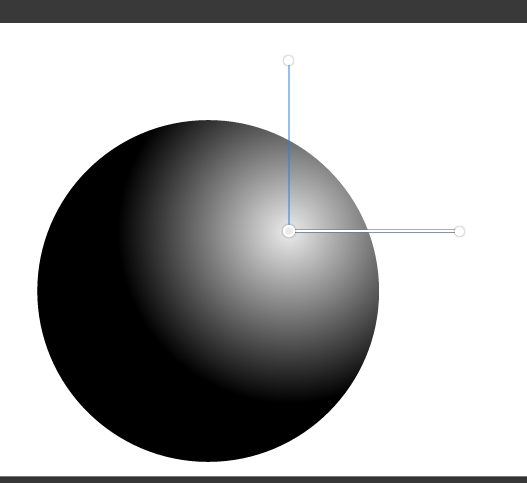
The Ellipse will now be filled with a White to Black Radial Gradient.
Two lines will appear over the Ellipse which can be used to edit the nature of the gradient.
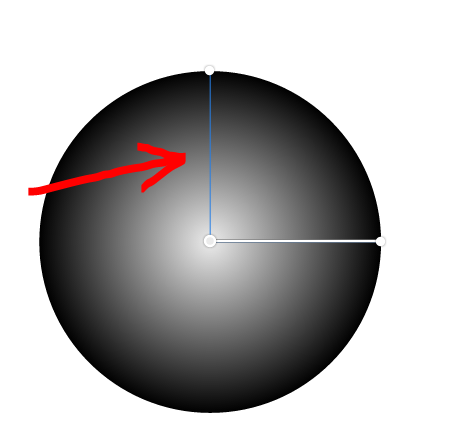
Move your Mouse Pointer to the blue line and drag the Radial Gradient to the top-right region of the Ellipse
 .
.
Drag the Radial Gradient to the corner as shown below.
The Ellipse now looks more like a Sphere.
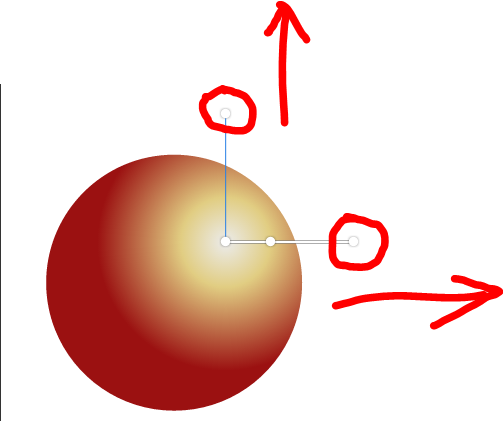
Let’s go ahead and change the colour of the Radial Gradient.
These two points your see are used to change the colours on a Radial Gradient.

Click on point B on the Radial Gradient.

Point A is white. Point B is Black. The Radial Gradient is white to black.
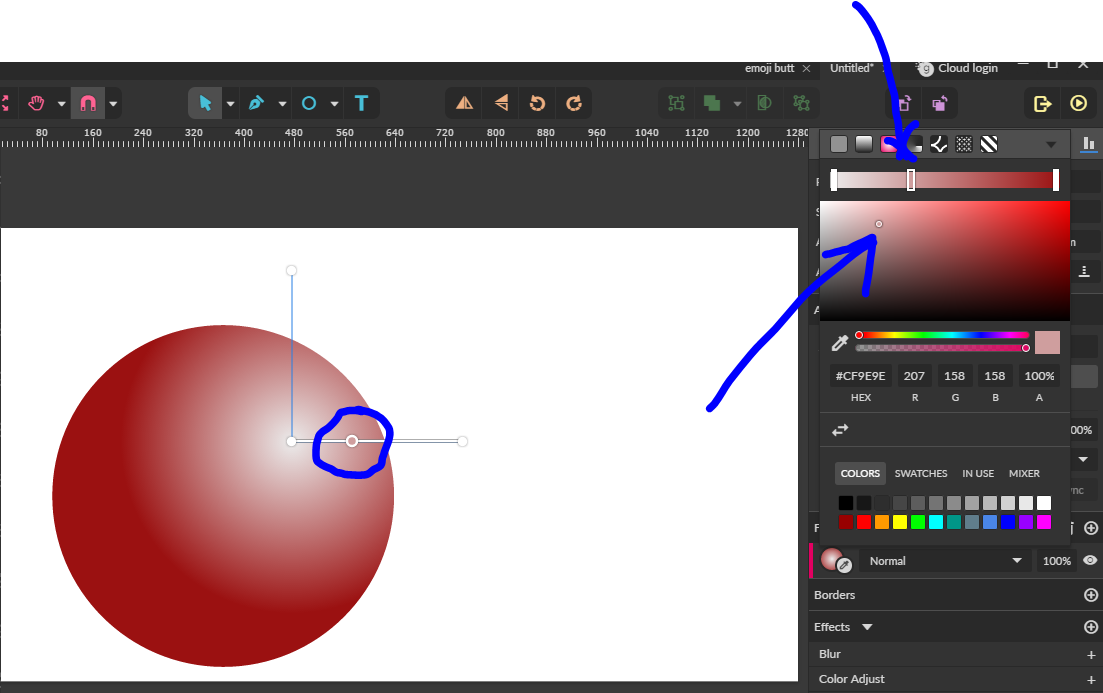
The colour of point B can be changed at the right-side of your screen in the fills dialog box.
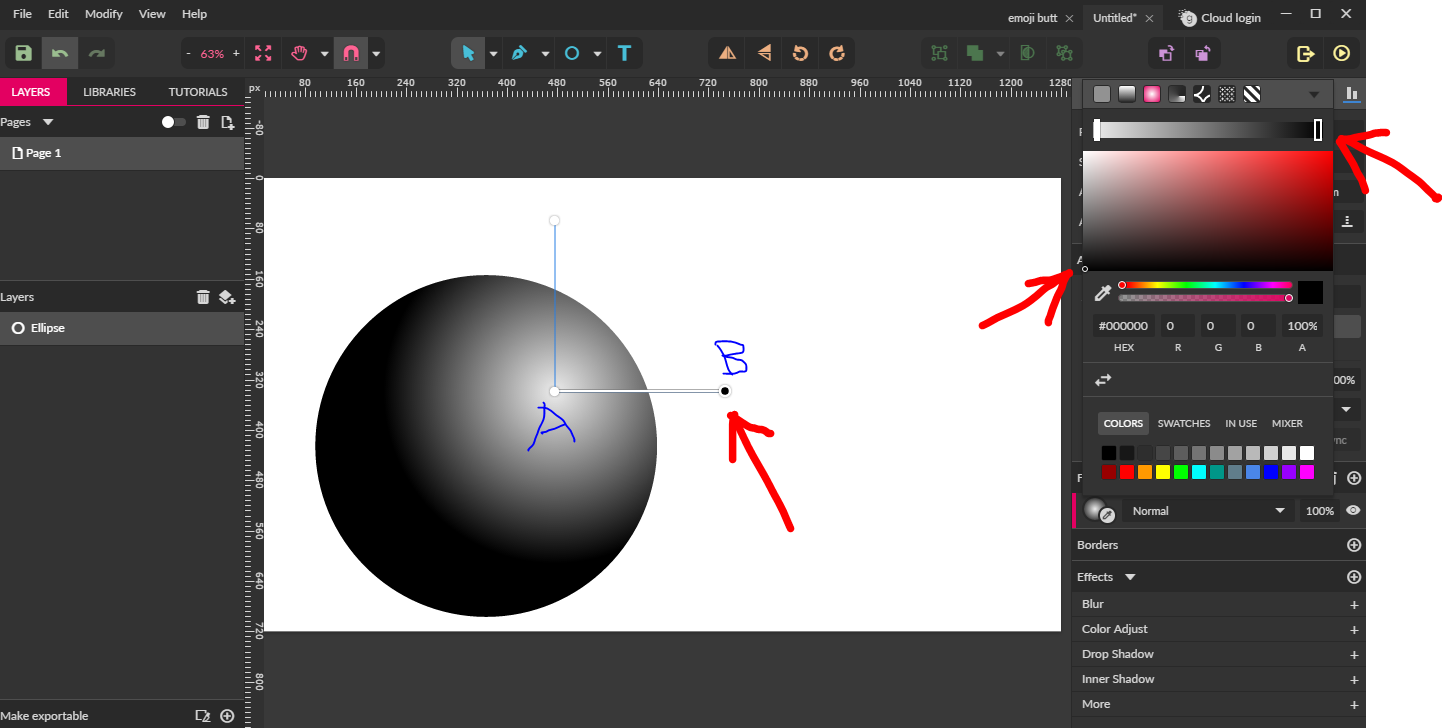
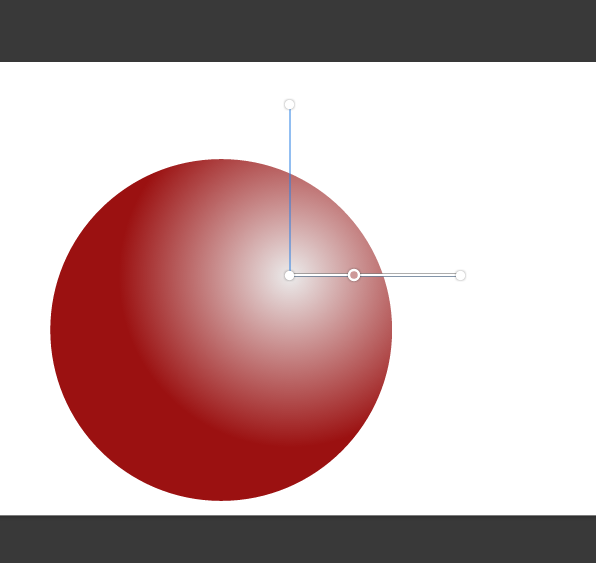
Change the colour of point B to red (#9B1111)
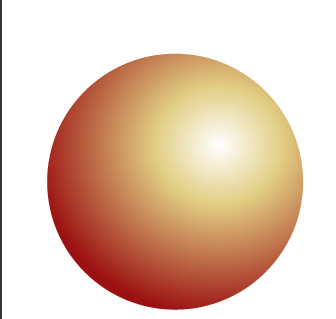
Now we have a red sphere. Nice!

Let’s make the sphere more sophisticated by adding a new colour to the Radial Gradient.
Click on the line to add a new colour.

Change the colour of that point to light yellow (#E1CD82)

Impressive! Now the Radial Gradient is white to yellow to red.
Let’s now expand the radial gradient.
Click and drag outer-most points on the radial gradient.
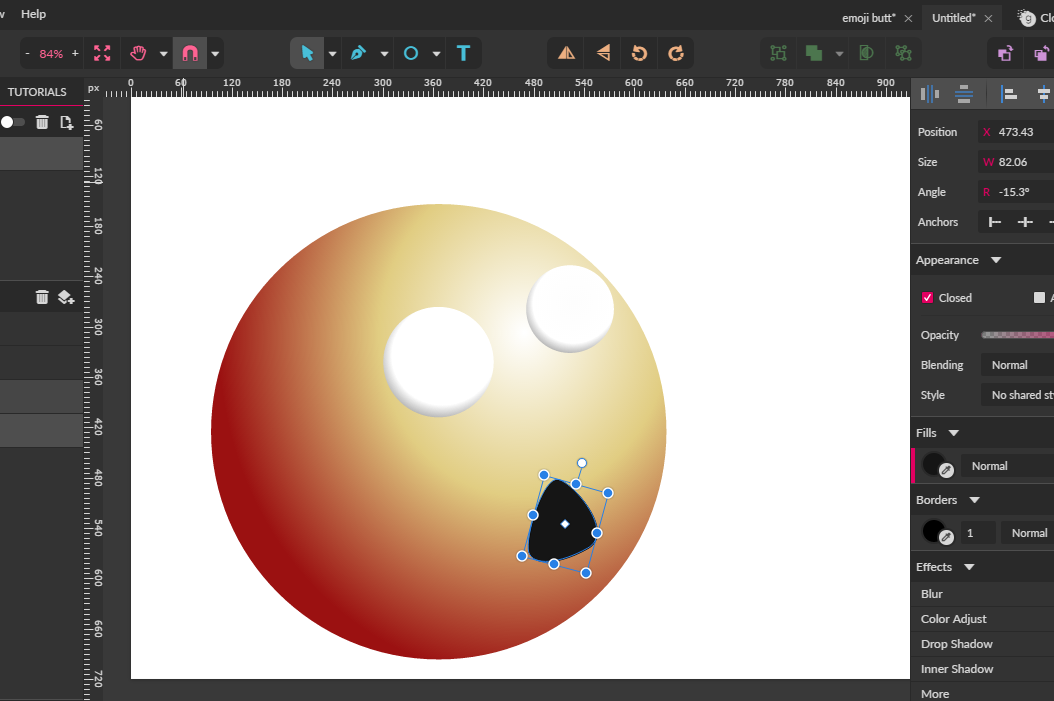
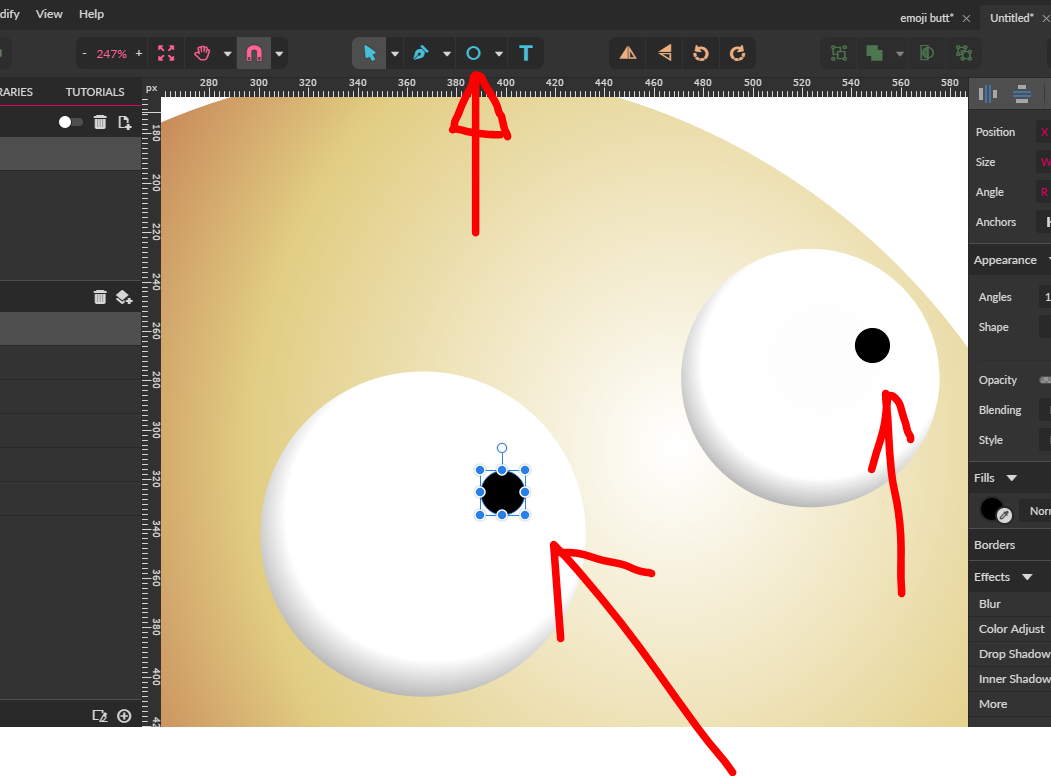
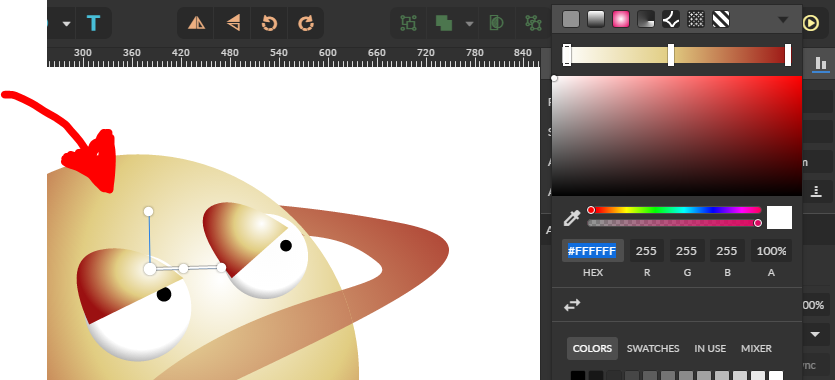
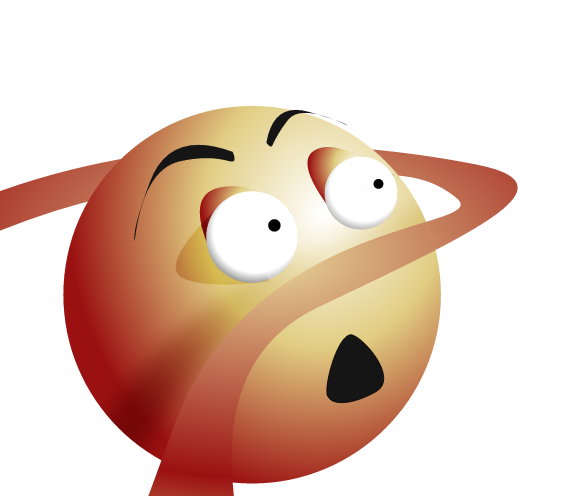
Add eyes to the Face of the Emoji
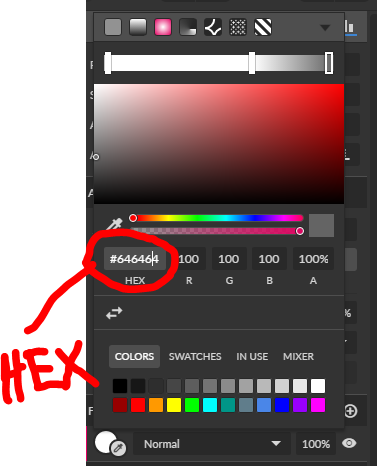
Create two spheres and fill them with the radial gradient. Make the radial gradient white (#ffff) to white (#ffff) to grey (#646464)

You can simply copy and paste the colour in HEX.
Using the Path tool, create a shape and fill it with a grey (#151515) as shown below.
Using the shape tool, create two Ellipses and still fill them with grey (#151515) as shown below.
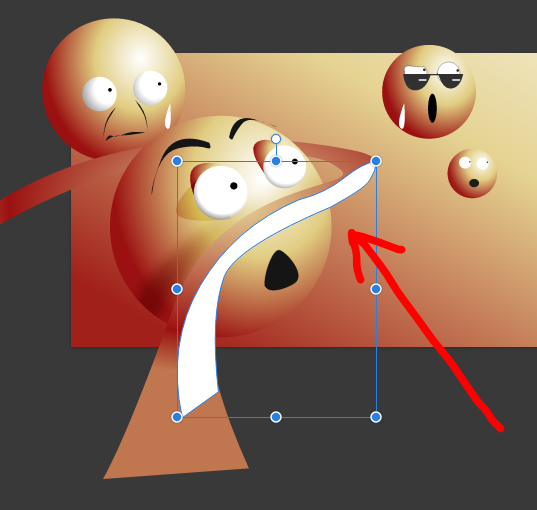
Create the Road
Using the Path tool, make a shape as shown below.
Simply click and drag using the Path tool to create a path.

Fill it with a Radial Gradient (yellow #E7D699– red #9B1111– yellow #C0764E).
Add just the Radial Gradient as shown below and remove the border from the path.
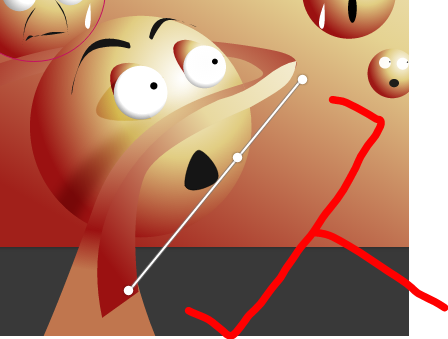
Making the Road come ‘under and over’ the Emoji Face
Note: You might want to slow down and read this section carefully; it is a bit technical.
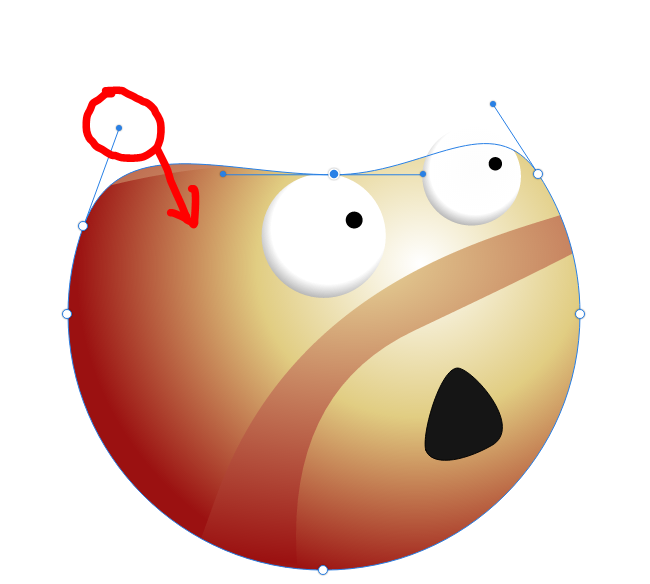
Let’s make the road come around the Ellipse as shown below.
Before

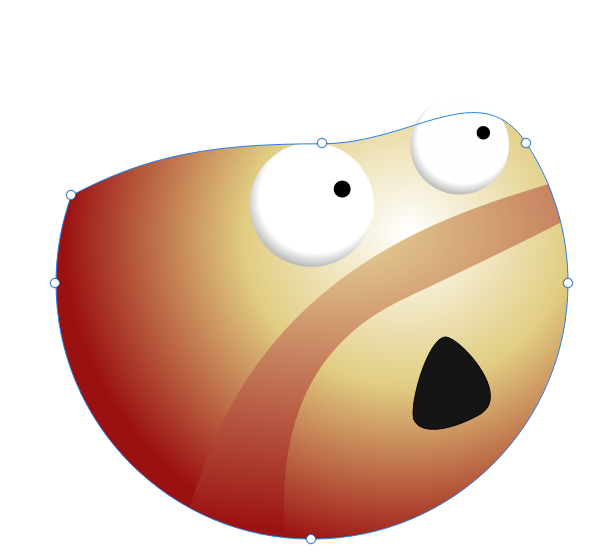
After
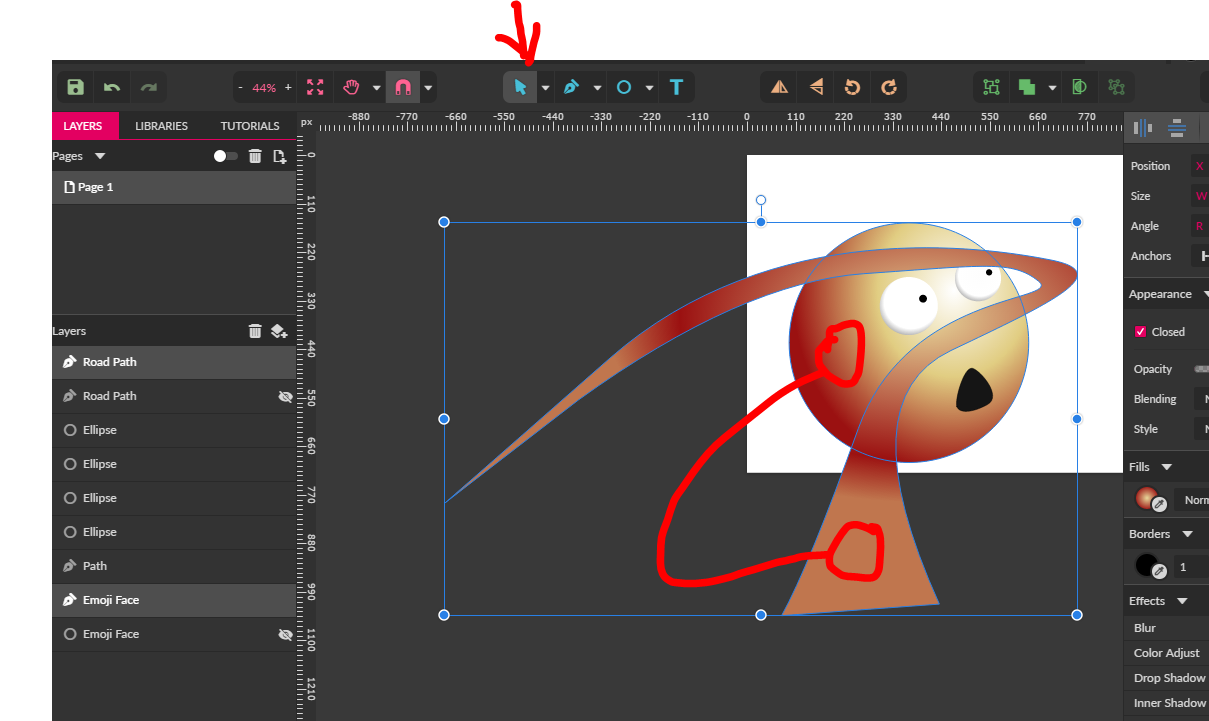
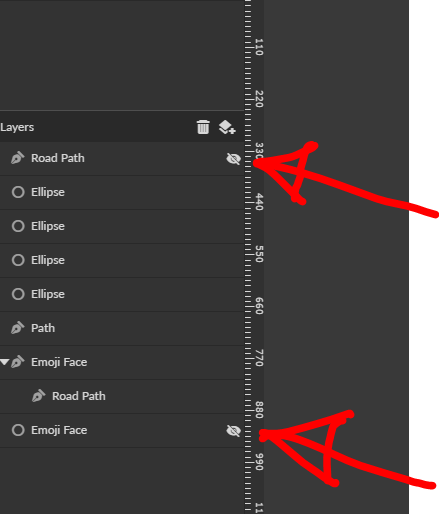
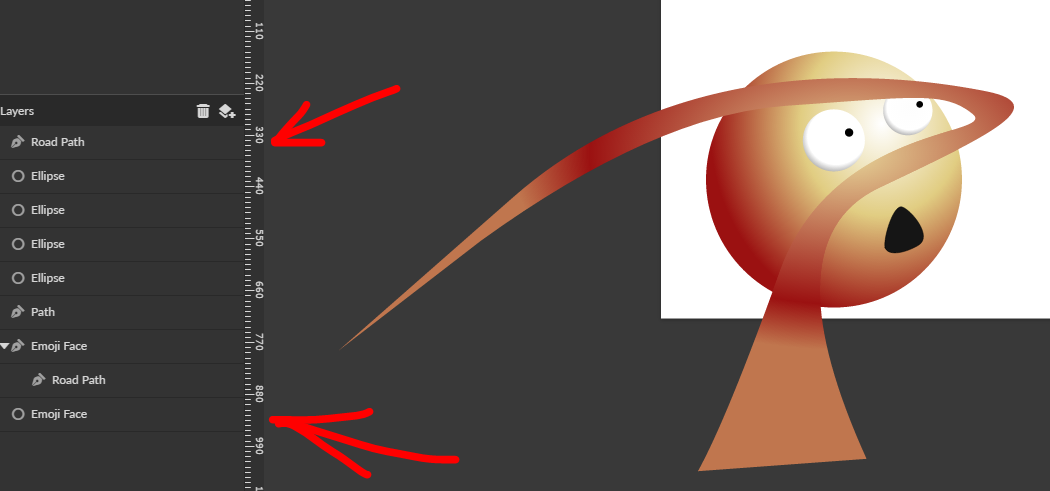
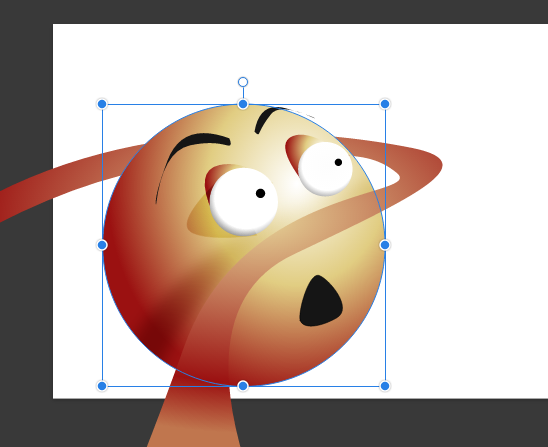
Using the Pointer tool, select the Ellipse and change its name to “Emoji 1” as shown below:
Also select the road path and change its name to Road Path.
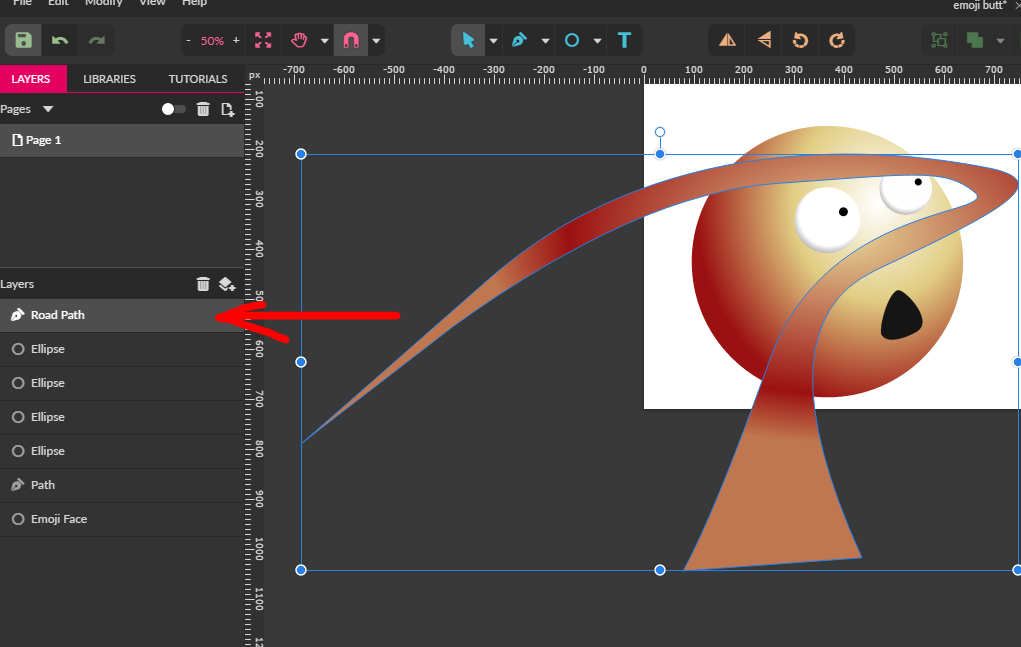
Now select Emoji Face and duplicate it by pressing ctrl + D on your keyboard.
Note: this creates a new Emoji Face right on top of the old one.

Toggle the visibility of the Emoji Face under.
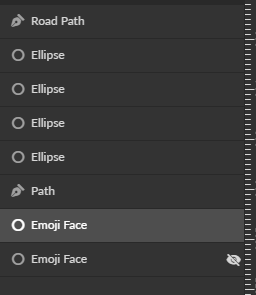
Select the Road Path and also duplicate it (ctrl + D). Also toggle the visibility of the one under.
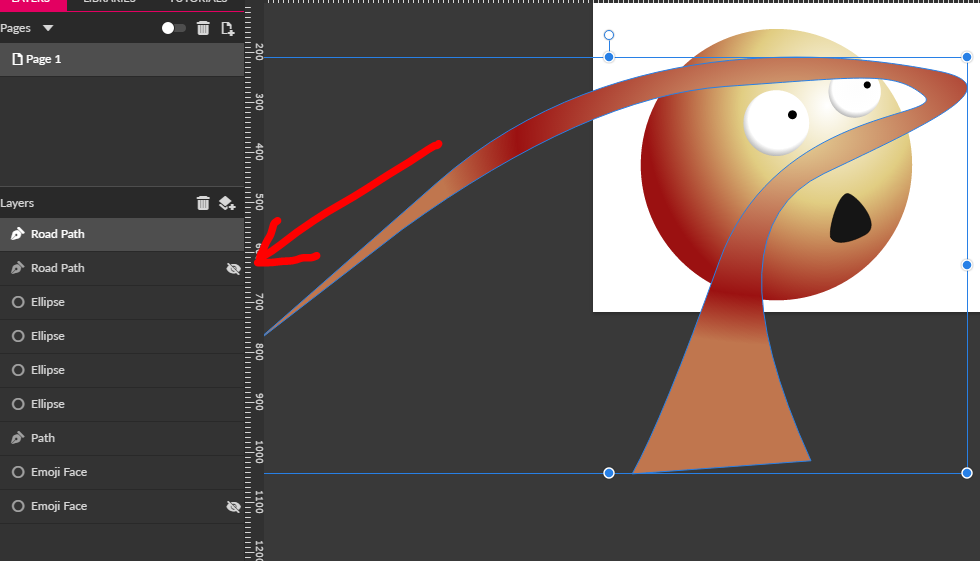
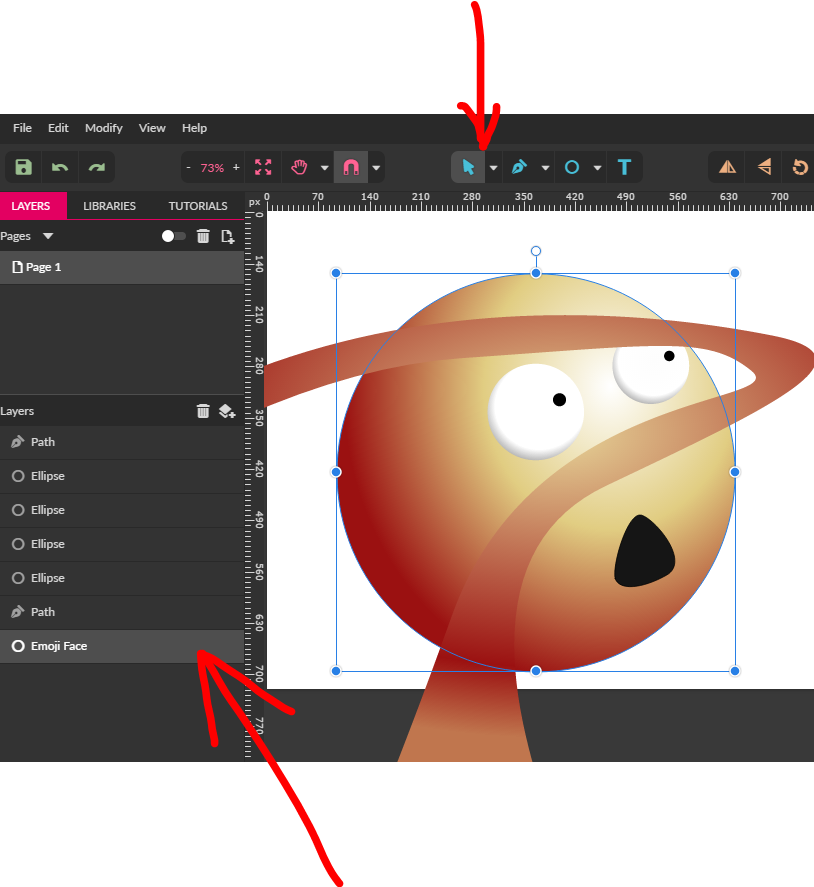
Now we have 2 Emoji Face layers and 2 Road Path layers.
Convert the Emoji Face into a path
Right click on it and selected ‘convert to path’
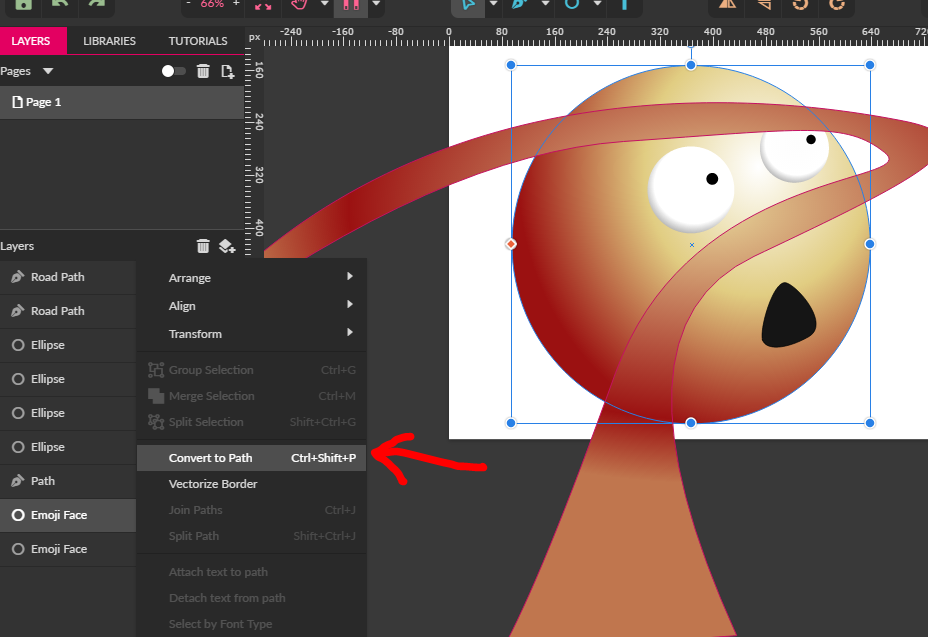
This makes the Ellipse editable as a path. Even its icon will be a path.

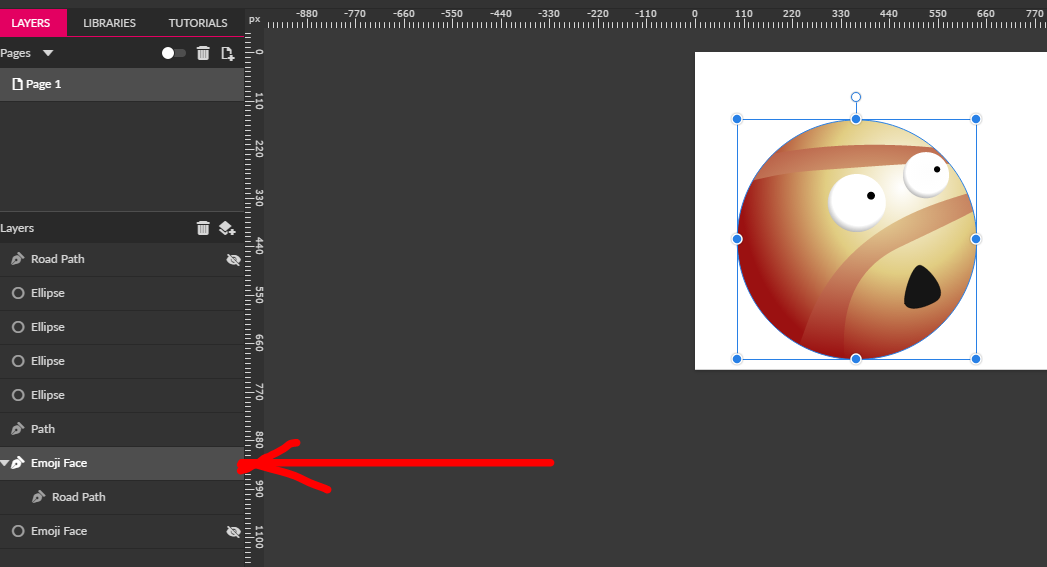
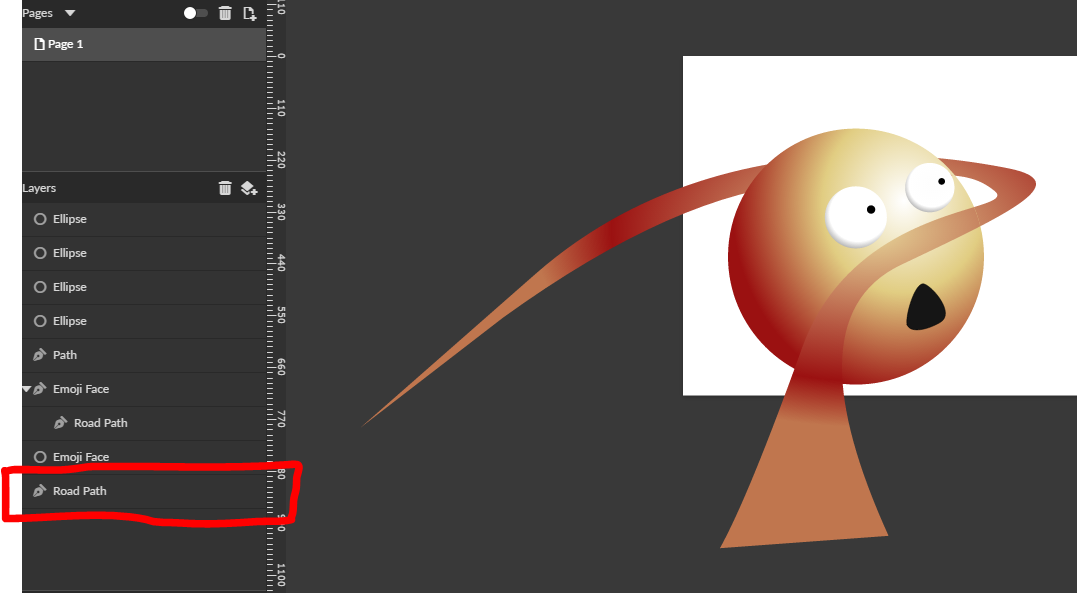
Select both the Road Path and the Emoji Face. Simply select Emoji Face then hold SHIFT + click on the Road Path.
Note: Make sure you are using the Pointer tool.
While both of them are selected, click on clip.
This places the layer on top within the bounds of the layer under.
In simple terms, the Road Path will be inside the Emoji Face as shown below.

Before
After
Notice that the Road Path is now inside the Emoji Face.
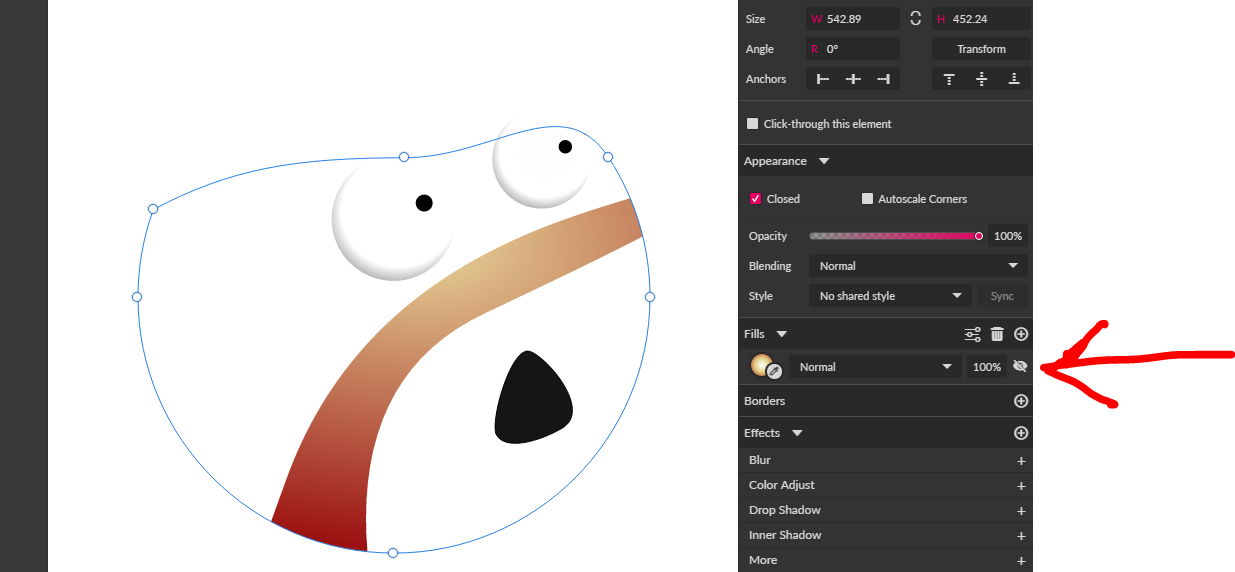
Using the subselect tool, select the Emoji Face.
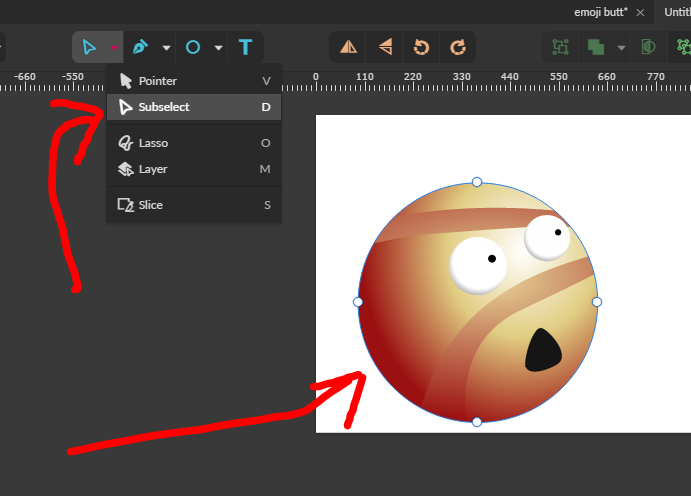
Edit the Emoji Face path to hide part of the Road path
Note: You might want to slow down and read this section carefully; it is a bit technical.
Click on the path at the points shown below.
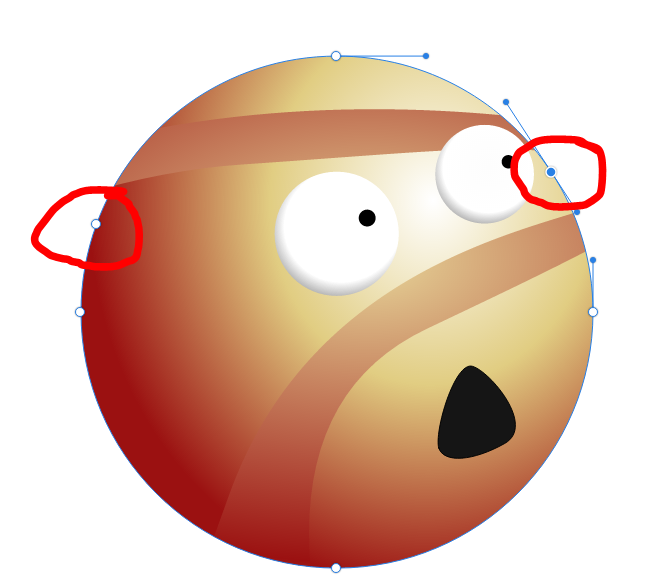
Click and drag the point shown below down.

Click and drag the handle of the point shown below
Now we have hidden the part of the Road Path we don’t need.
Remove the Fill of the Emoji Face.
That leaves us with the Road Path.
Make the other layers visible again. (Road path and the Emoji Face)
Drag the Road Path down and make it the bottom layer as shown below.

Now the Road Path looks like it is ‘under and over’ the Emoji Face.
Create the Eye lids
Using the path tool, make a shape as shown below.
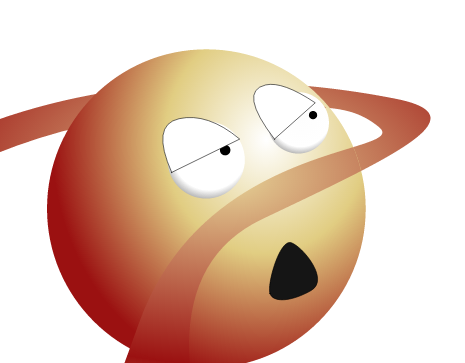
And add Radial Gradients to them (White #FFFFFF – Yellow #E1CD82 – Red #9B1111)
Send the Eye lids beneath the eyes using the Send Backward button.
Or use, Ctrl + up button (to Bring Forward); Ctrl + down button (to Send Backward)
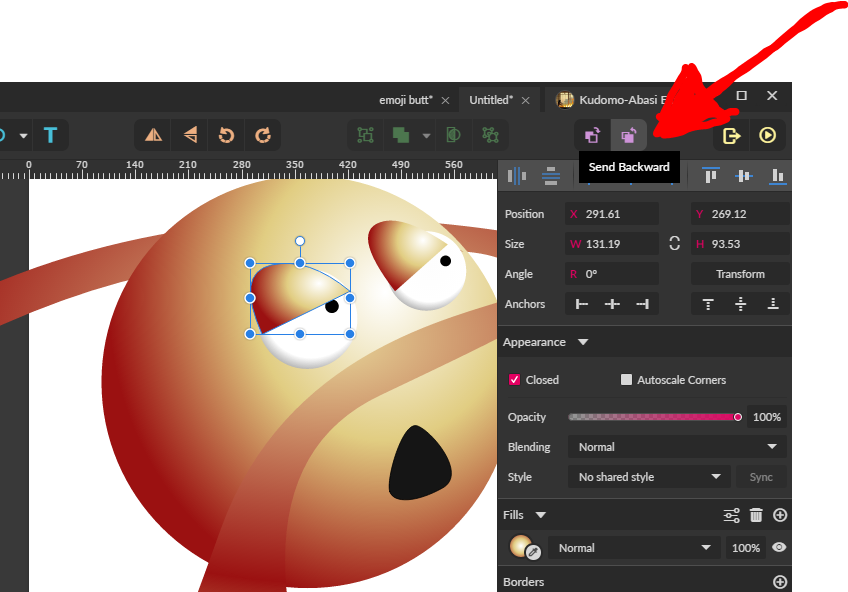

Nice! Now the dude looks Amazed.
Create a shadow for the Road Path
Using the Path tool, create a shape as shown below.
Fill it with Black.
Make its Opacity: 60%, Blending: Soft light, Blur: 31.2
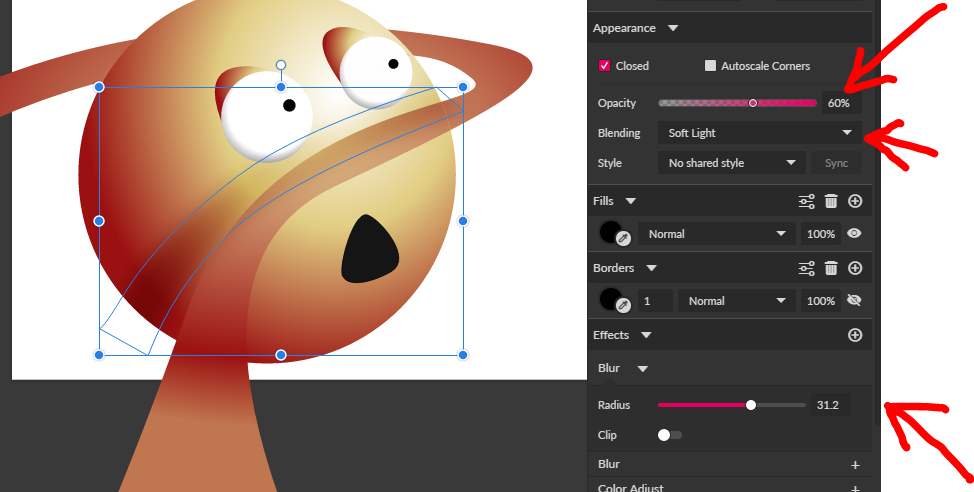
Clip it to the Emoji Face Path.

Shadow for the Eye
Make a path as shown below. Make the Path black (#0000).
Change the following,
Blending: Linear Light
Opacity: 40
Send it under the eye ball using ctrl + down button.

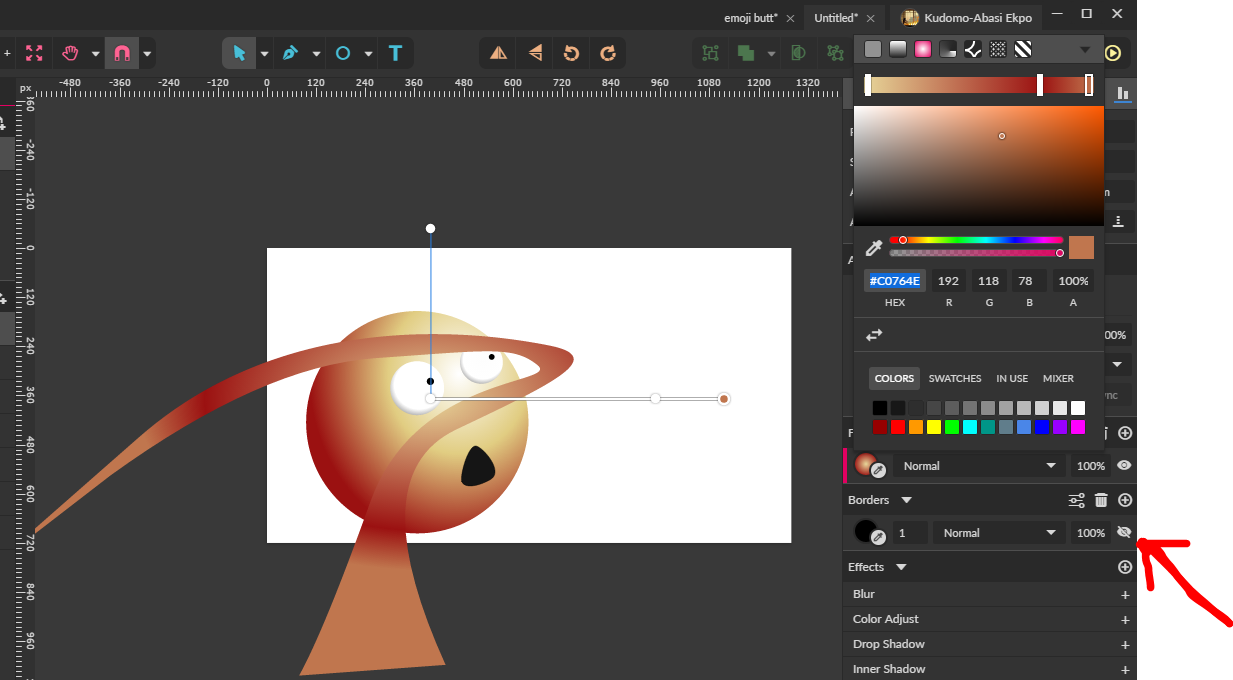
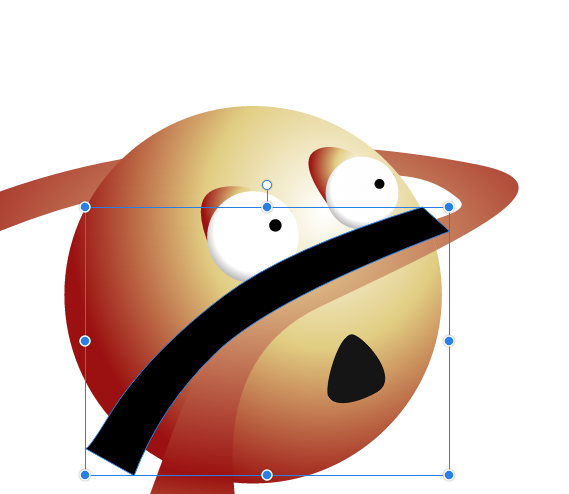
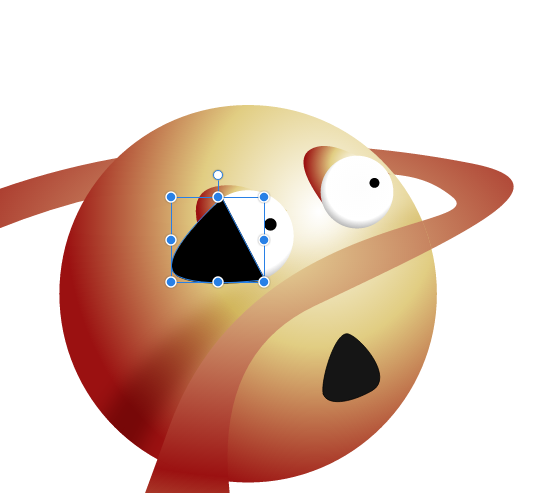
Add Eye brows.
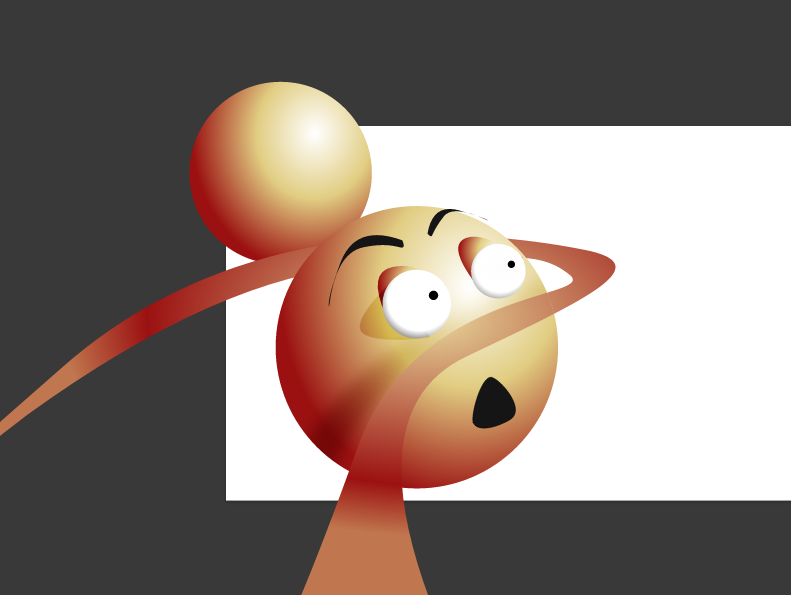
Make another Emoji
Select the first Emoji Face as shown below.
While holding alt on your keyboard click and drag the Ellipse.

Adjust its size and send it to the bottom (ctrl + shift + down button)
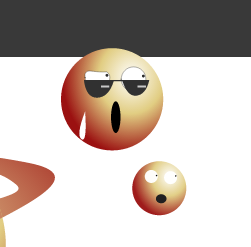
Add eyes add some lines to give it a facial expression

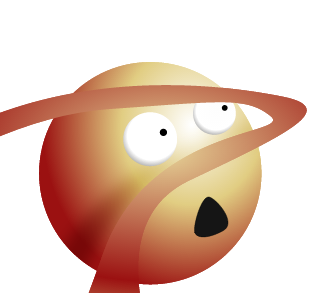
This is Hilarious!
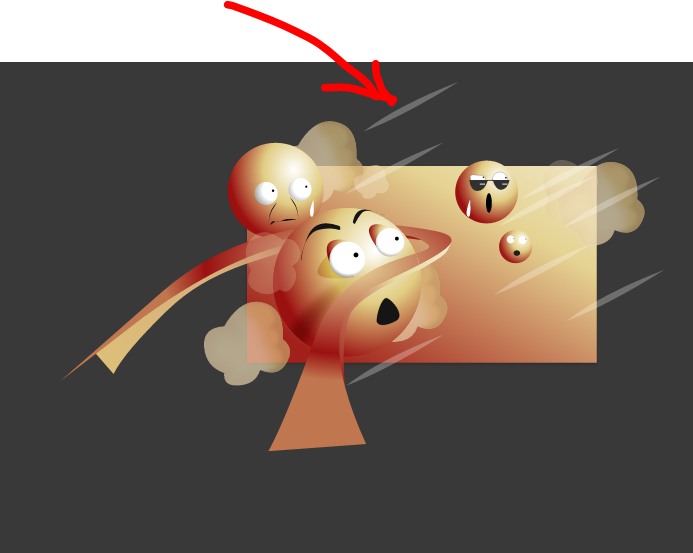
Let’s add some more Bros,

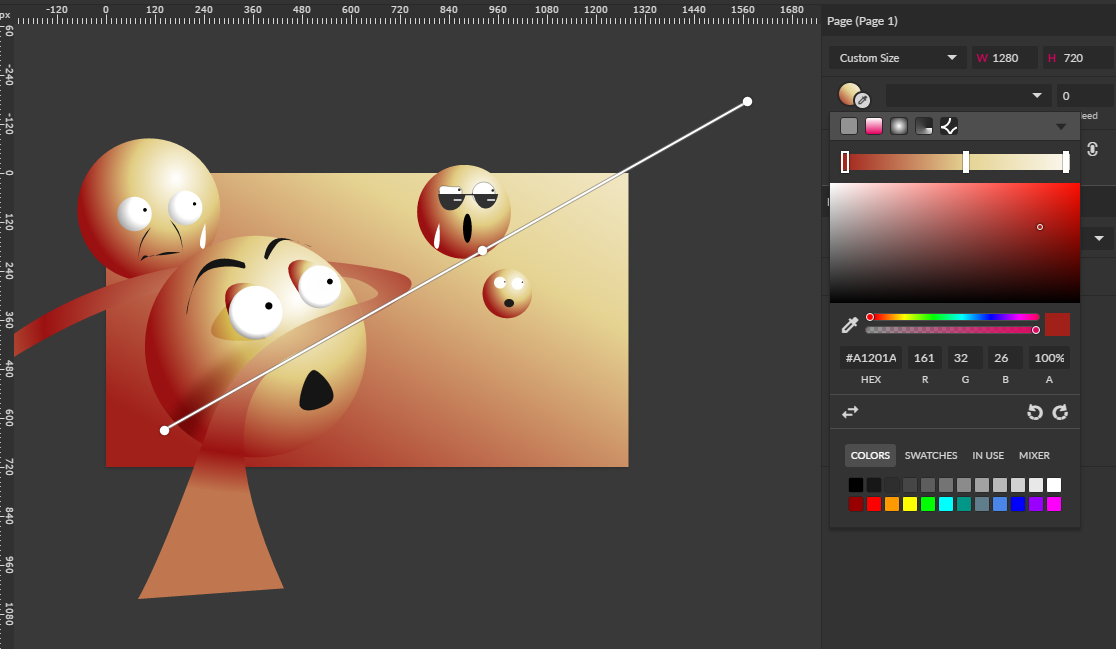
The Background looks plain. Click on the Canvas and give it a Gradient Fill


From Left to Right, make the Linear Gradient (red #A1201A – yellow #E5D392 – yellow light #FBF8EF)
Give the Road Path some thickness.
Create a new path
Fill it with Linear Gradient (red #A1201A – yellow #E5D392 – yellow light #FBF8EF)
Duplicate it (Ctrl + D) and clip the first one to the Emoji Face.
And send the second duplicate down to the bottom.
Your design should look like this now.

Create another path.

Fill it with Linear Gradient (yellow light #FBF8EF – yellow #E5D392 – red #A1201A)
Then send it to the bottom.

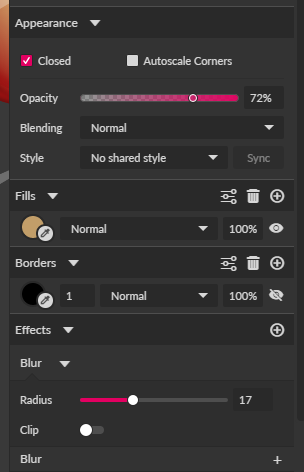
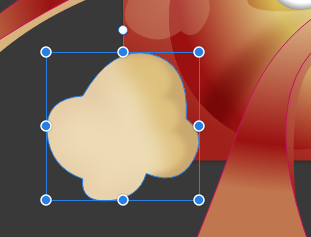
Add some clouds
Create a path shaped as a cloud and fill it with light yellow (#ECDBB4)

Create another path and clip it to the cloud. Fill: Yellow (#C29E69)

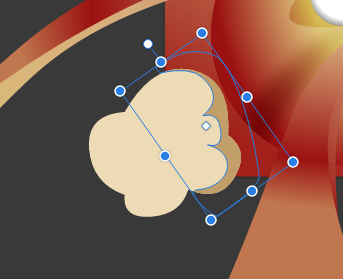
Change its opacity: 72% and add blur: 17
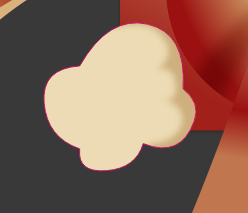
Create another path and fill it with red (#B24F36). Also clip it to the cloud.

Blur: 50, Opacity: 11%.
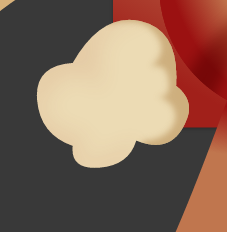
Create a black path as shown below.

Add Blur: 45

Add Blending: Linear Light and change opacity to 72%

Clip it to the cloud and send it to the bottom (ctrl + SHIFT + down button)

Before
After
Change the Opacity of the entire cloud to 68%

Duplicate the cloud and place them at the bottom as shown below. Add some more cloudlike paths

Make some dramatic effect with more rays
Create a white (#ffff) path as shown below.

Change its opacity to 27% and Duplicate it as shown below.
Make a Circle with Fill: Black (#00000), Border: red (#991614), Opacity: 34%.
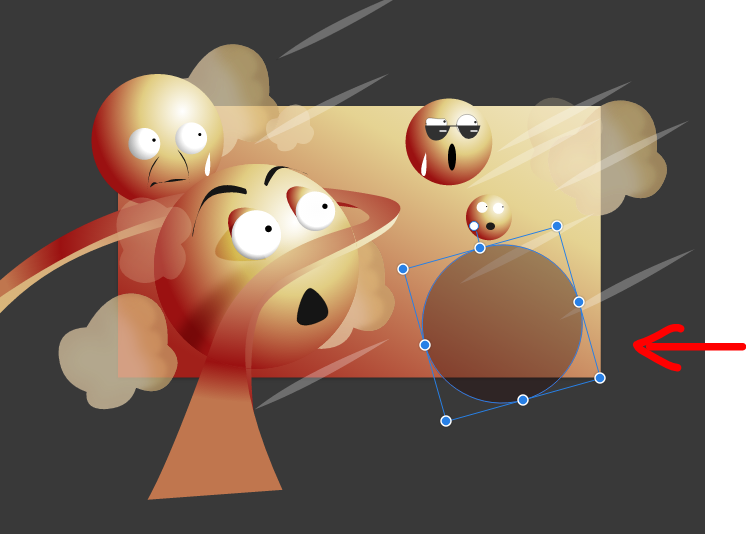
Duplicate the Circle and resize it
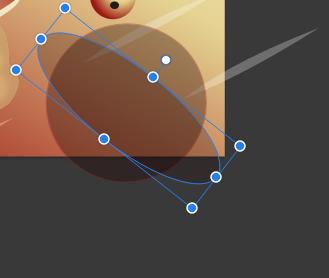
Add some more Ellipses. Fill: none, Border: Red (#991614)

Adding Depth
Let’s add some depth to the wrinkles on this dude’s face

Make a white path along the edge of the wrinkle as shown below.

Create another Path. Fill: red (#9B1111)
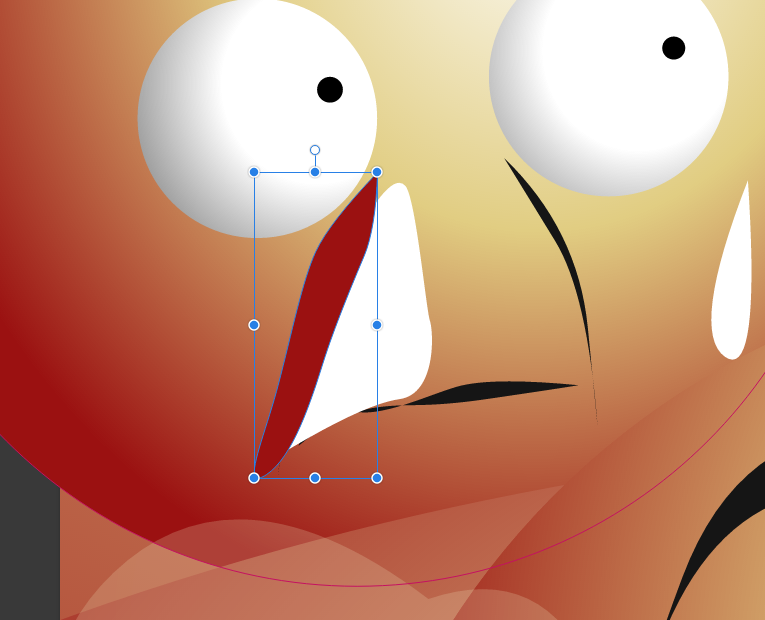
Clip the red path to the white path.

Remove the fill of the white Path.
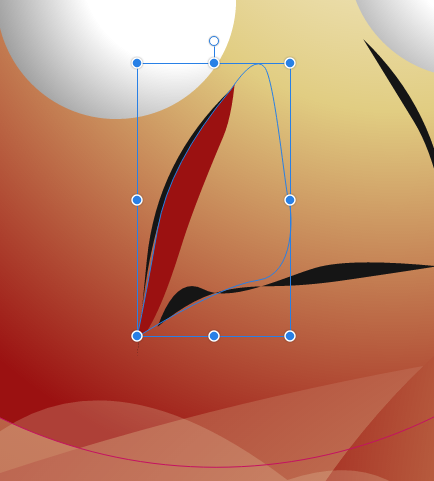
Blur the red path. Blur: 21.3.
Note: I clipped the red path to make its blur stay within the wrinkle area. (If that makes sense)

Blur the white path as well to smoothen the edges.

Do the same with another path on the other side of the wrinkle


Bring the black line in the middle to the top.
Note: If you have trouble selecting the black line, hold ctrl and click till you have the black line. This method is used to select what is underneath a layer.
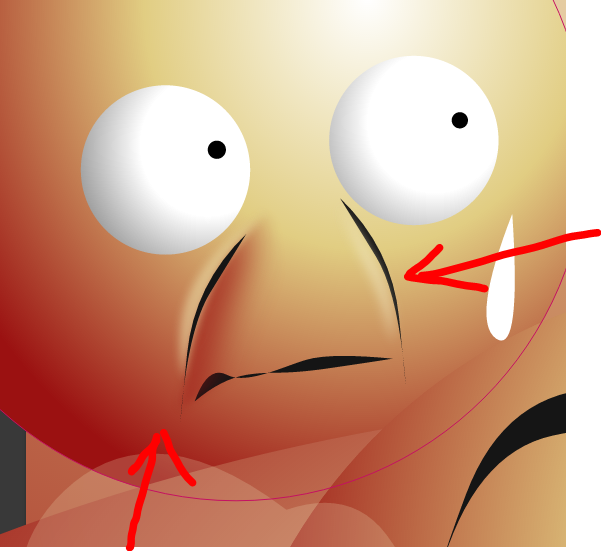
I also added some light on the right.
Add the Text
We’ll be using font: Popular Cafe NF.
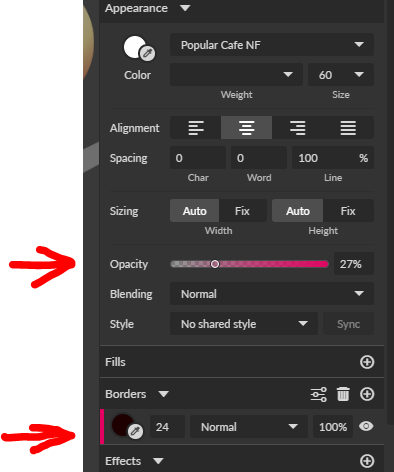
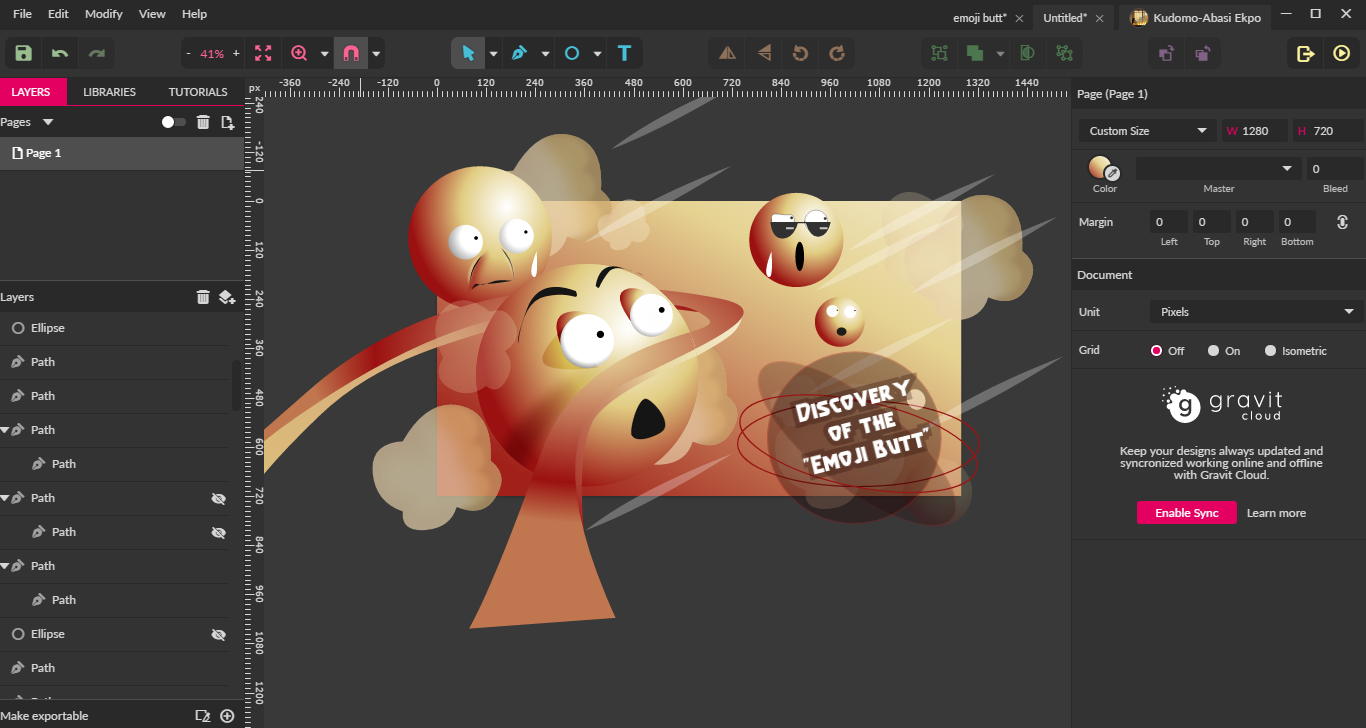
Create a text using the Text tool.
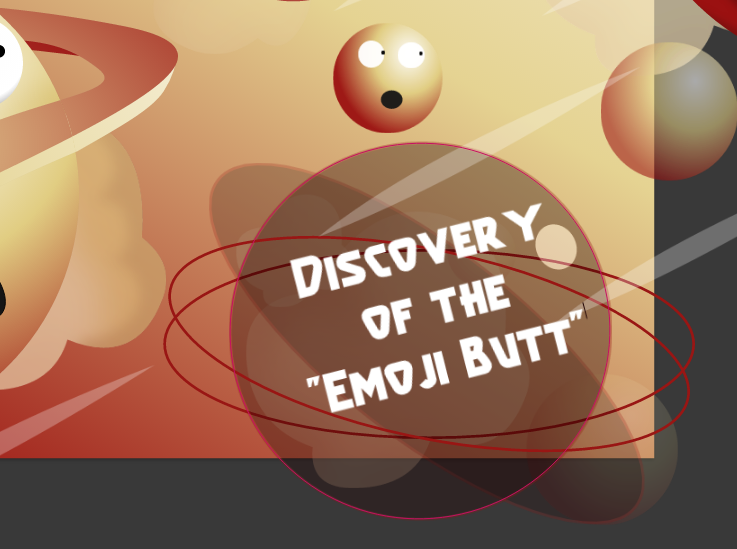
Duplicate it (Ctrl + D). Add a dark red (#1E0000) border to the text under. Reduce its opacity to 27% .
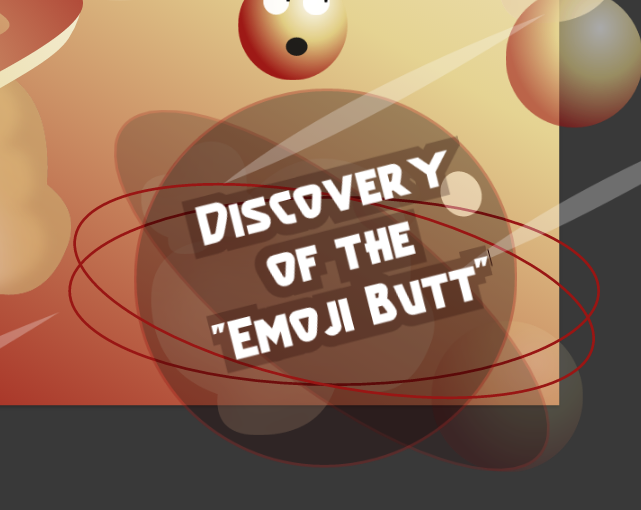
This is what our design looks like now
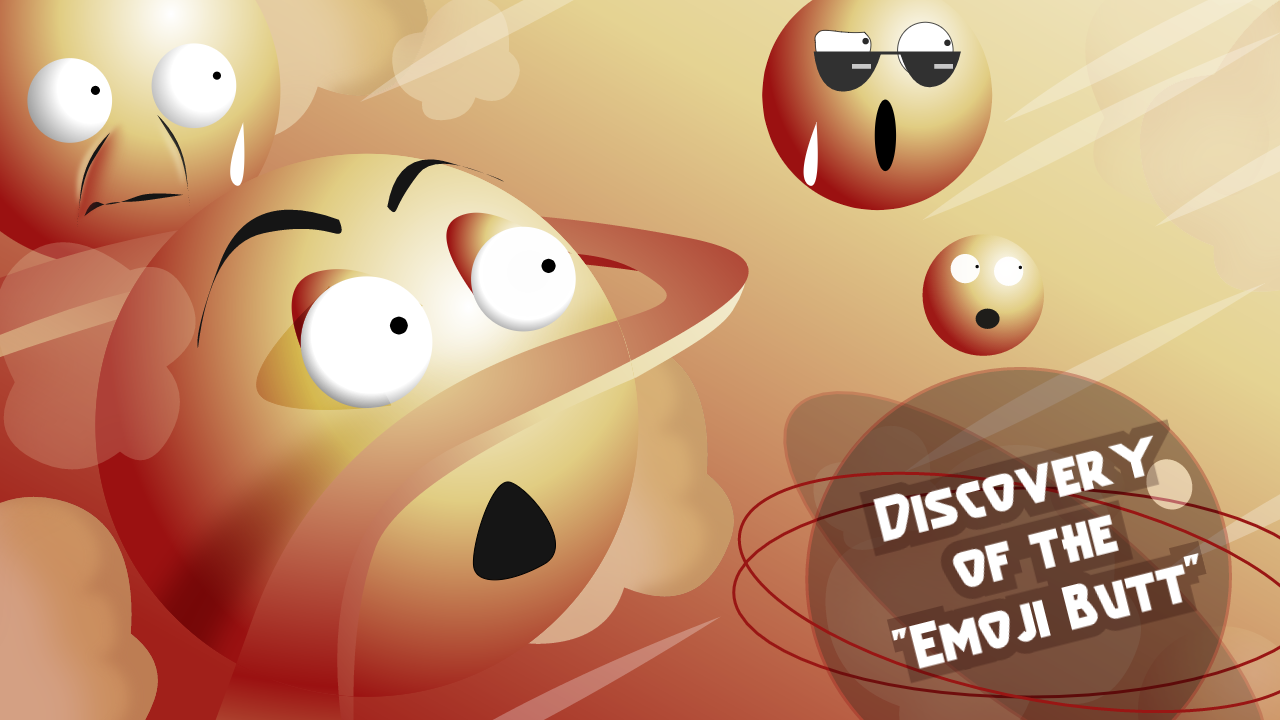
After exporting the design as a PNG, I used a photo editing tool to make some changes.
Contrast, High Lights, Shadows, Color.
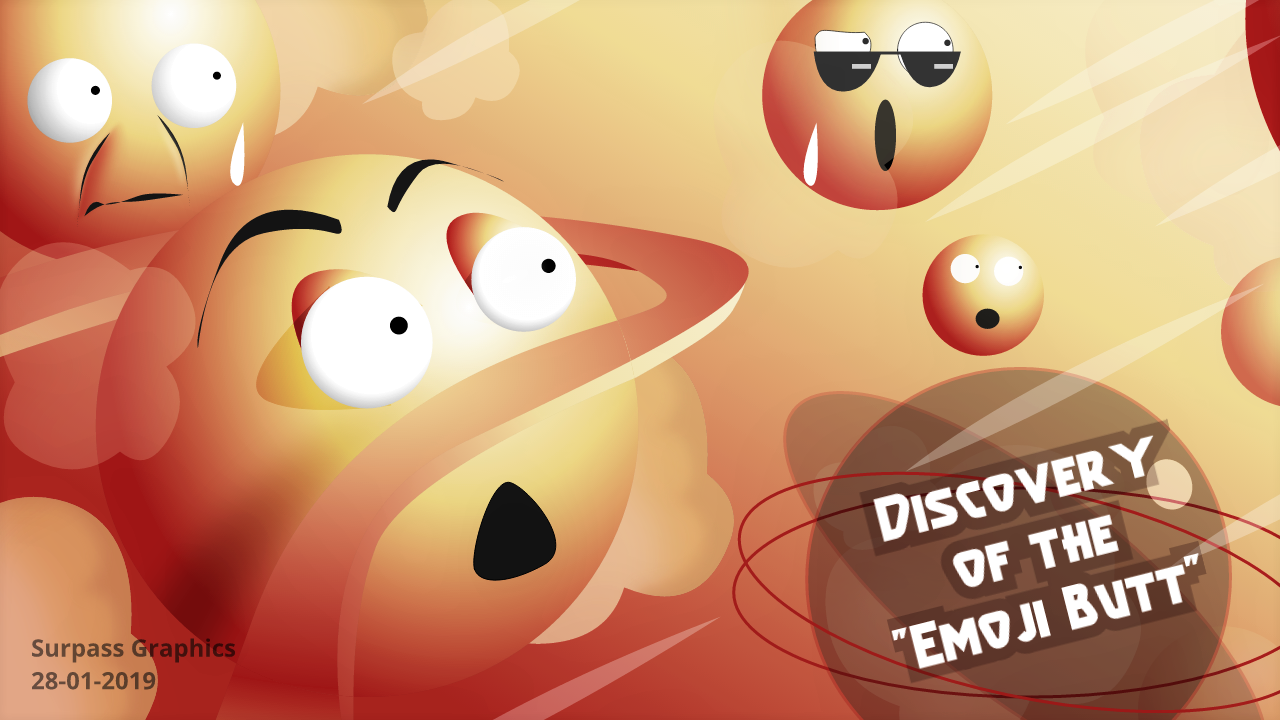
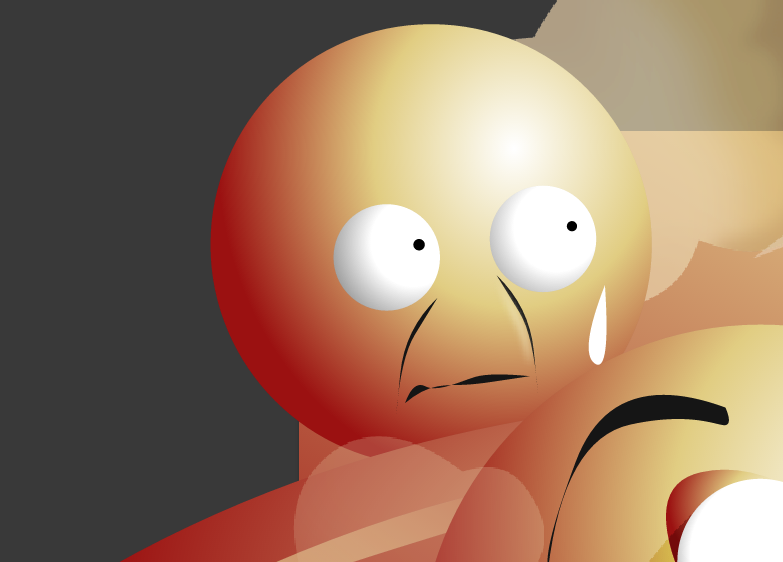
Finished work
Congratulations! You have reached the end of this tutorial.
This tutorial was made based on my knowledge and experience. If you know of easier ways to paint with a mouse, feel free to share it in the comment section below.
If there is any part of the tutorial you don’t understand, let me know in the comment section below.


0 Comments